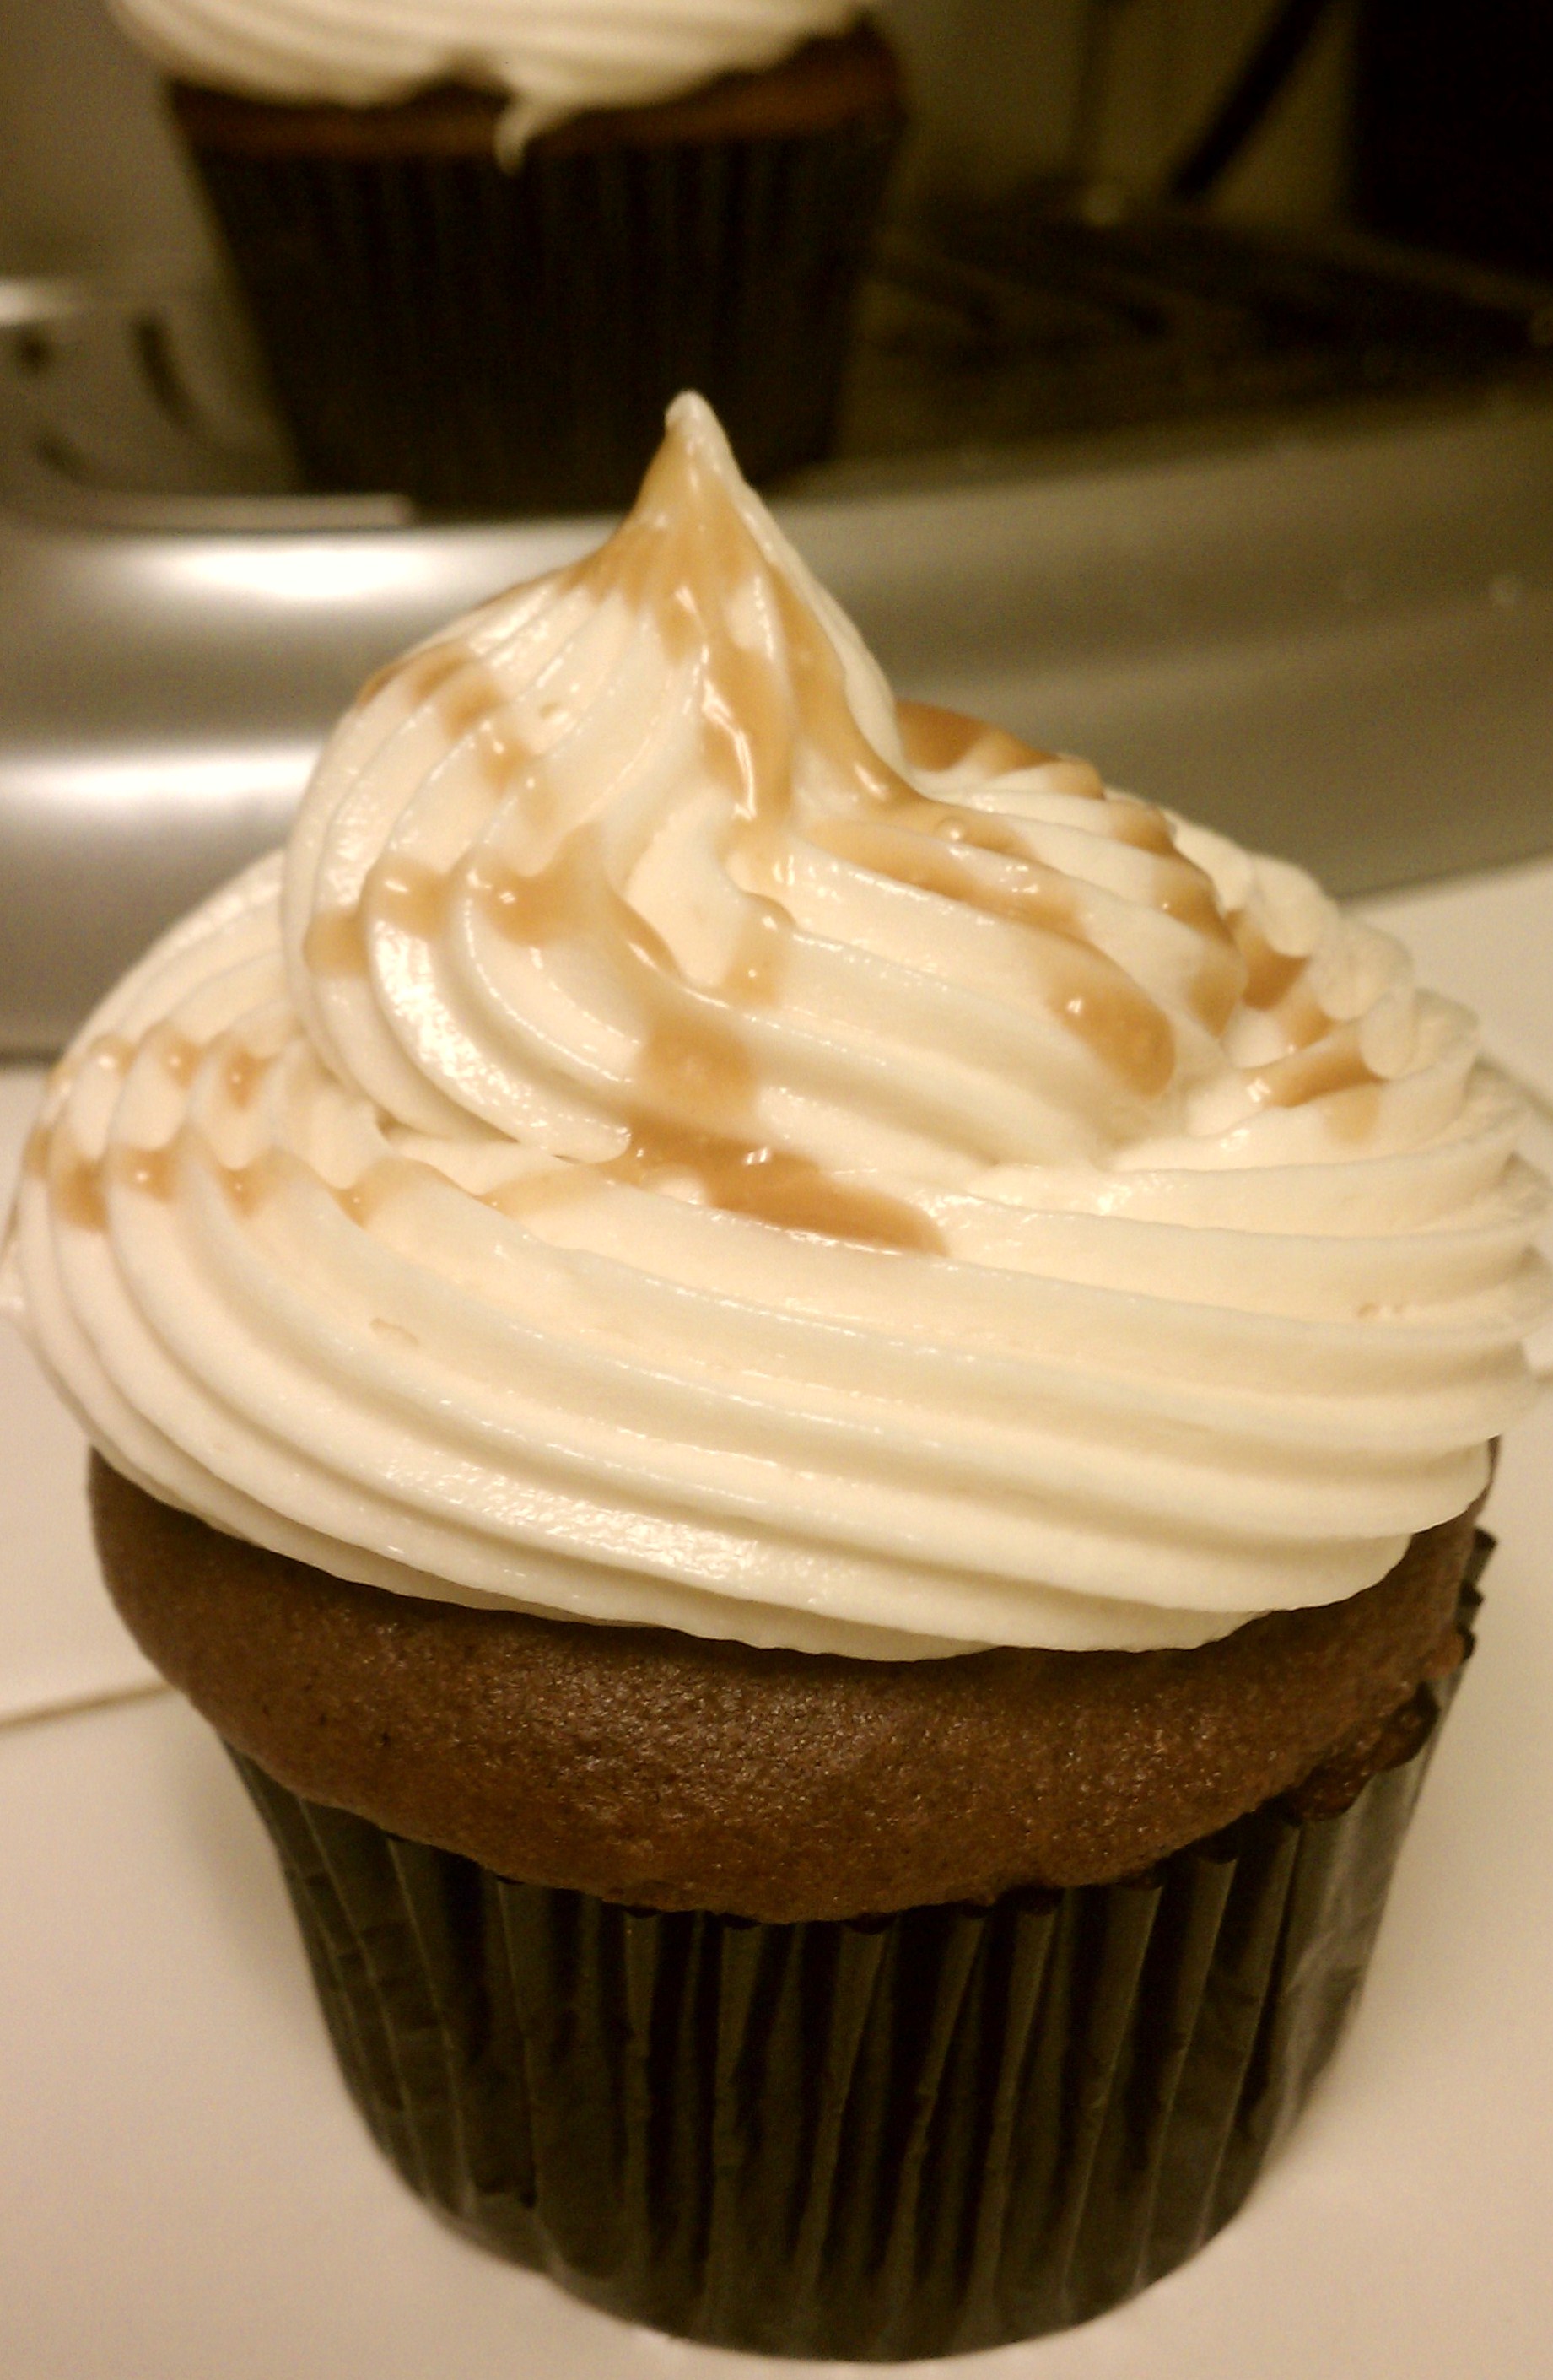
 I came upon a recipe for some peanut butter cookies topped with a salted peanut caramel and I could not get it out of my head. But as usual, I had to find a way to put this in a cupcake, since I had to bring some to a housewarming party. Not too difficult of a task but the caramel did prove a bit fussy, although when the instructions say to pay attention at a certain stage, one should not be off helping their two year old pick a movie to watch. I also read to pull the caramel off the heat a bit lighter than the amber color it suggested and that worked very well. The sauce calls for peanuts which I did use for the cupcake filling but I didn’t want peanuts in my frosting so I put aside a cup of the caramel before adding the peanuts.
I made my simple doctored up box chocolate cupcakes because I had very little time but any chocolate recipe would work here. I filled the cupcakes with the caramel using the cone method. I then topped them with a caramel cream cheese frosting and a tiny drizzle of caramel for effect. These are good, very good. Next time I would double the batch of caramel, and I have reflected that in the directions. Keep in mind, you need to use a big enough pot to make the caramel (even Dutch oven size), especially if you are going to double as I suggest. When you add the warm cream it will froth up and if you do not have a large enough pot it could be a scary disaster, so error on the side of bigger.
Chocolate cupcakes with salted peanut caramel.
24 chocolate cupcakes
Salted peanut caramel
Adapted from: Dave Lebovitz
(Recipe is doubled)
1 cup water
2 cups granulated sugar
2 TBSP light corn syrup
¼ TSP coarse salt (I used sea salt)
2 cups heavy cream
1 TBSP vanilla extract
¾ cup finely chopped roasted salted peanuts (if you want peanuts in your frosting double that amount)
First put your cream in a microwave safe dish or saucepan and warm it up, then set aside. Put the water, sugar, corn syrup and salt in a large sauce pan on med-high heat. Stir the mixture until all the sugar dissolves, at that point stop stirring and allow to boil. (At this point don’t abandon your sugar, keep a close eye on it, although it does take around 7-10 minutes). Swirl the pan every so often to ensure it heats evenly, especially once you start to see some color. Now once you start to see color, it happens fast so be ready with your warm cream. Once the color turns a LIGHT brown (I found it was easiest to see the true color with the pan tilted slightly), pull it off the heat and slowly add the cream while whisking the caramel. It will froth and foam up but it will receded quickly, keep stirring until it settles down, then add the vanilla. Set the mixture aside to cool.
Once the caramel has cooled enough to pour safely, measure out a cup (this will be for the frosting) and set aside, I suggest putting this in the fridge for a while because you want it to be cold when you add it to your frosting). Then add the peanuts to the remaining caramel in the pan. Let it sit until it has thickened (30 min) or put it in the fridge to speed it up. Once it has thickened and cooled put a tablespoon or more into each cupcake. And try not to eat it all while you are doing it! If this process make you nervous or you just want more pictures and information, check out the links provided below. If you want to drizzle some caramel over the cupcakes set aside another 2 tbsp or so, put it in a plastic zip lock and snip off the courner to drizzle over the finished cupcake. If you want the peanuts on top simply use a spoon to drizzle and be sure to set aside the caramel with the peanuts already mixed in.
Salted Caramel frosting:
Adapted from: Chockylit
2 sticks of butter at room temperature
8 ounces of cream cheese at room temperature
5-6 cups of powdered sugar
1 cup salted caramel
Beat the butter and cream cheese on medium speed until creamy. Sift in 3 cups of the powder sugar and beat till combined. Add the cup of salted caramel sauce and beat till combined. Sift in the rest of the powder sugar 1 cup at a time until it is the consistency you like. I used 6 cups total and then cooled it in the fridge for 10 minutes before piping it on the cupcakes. This makes enough frosting to generously frost 24 cupcakes.
http://www.davidlebovitz.com/2008/12/peanut-butter-cookies-with-salte-1/


