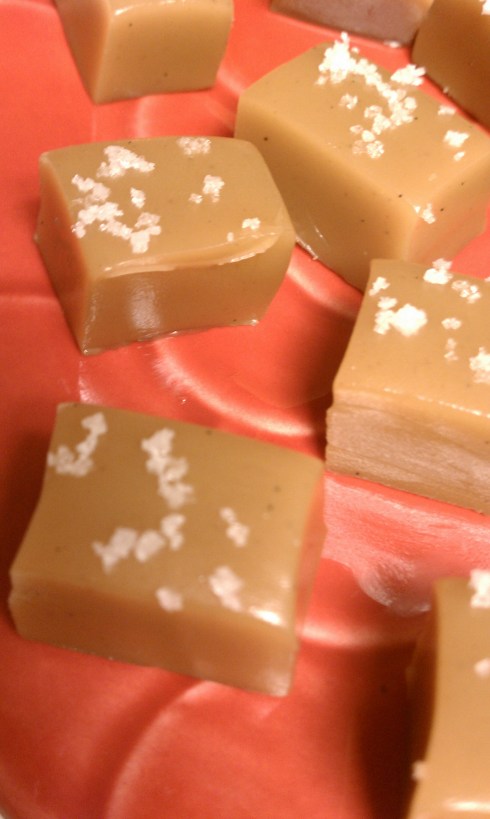
Right now everyone is making caramels and there are more recipes on the web than ever before. The majorities are for salted caramels, they are the current trend but for me these caramels are the bomb, nothing compares. I will warn you, they are not for the faint of heart; it’s a two hour long commitment requiring your full undistracted attention. Kids need to be asleep or away; you will need a chair and a book and don’t even think about making them if you don’t have a candy thermometer that you can trust and that clips onto your pot. You will be stirring for a minimum of an hour, so doing a double batch is not recommended, unless you would like the challenge of stirring two pots at a time for over an hour (been there done that). I would not use anything less than an 7.5-8 quart pot because when you add the butter and cream it will froth up a lot. I recommend having everything ready before starting, pan prepared, butter and cream on the stove, and vanilla measured out and set aside. *(Note: I did end up adding salt to the caramels while wrapping them, the taste was fabulous, so yes I am a sell out but why the heck not!)
Ok, now that I have scared you off, let me just say these are VERY worth the work, these are the first caramels I ever made, they are not difficult (not that I didn’t have some so-so batches but that was more due to not paying attention or a bad thermometer), as long as you follow the directions you will have success. I have been making them for years and everyone loves them and fights over who gets a box.

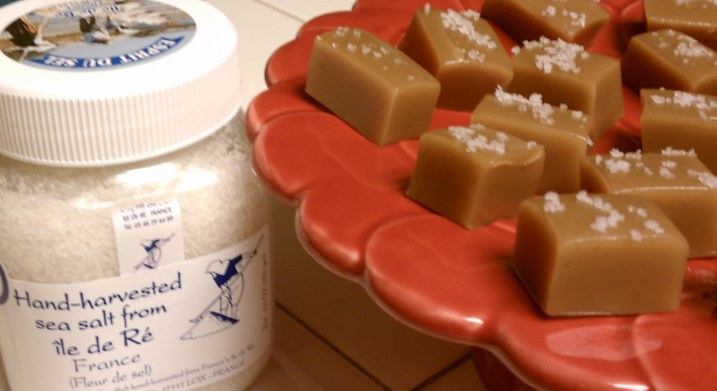
You also could make your own variation by adding salt on top or chocolate or anything that sounds good.
Golden Caramels
Ingredients
Makes about 150
• 4 cups heavy cream
• 1 cup sweetened condensed milk
• 4 cups light corn syrup
• 4 cups sugar
• 1 teaspoon salt ( I use sea salt)
• 1/2 pound (2 sticks) unsalted butter, cut into 16 pieces
• 1 tablespoon plus 1 teaspoon pure vanilla extract ( I use vanilla bean paste)
• Vegetable-oil cooking spray
Directions
1. Spray an 11 3/4-by-16 1/2-inch baking pan (this is a half-sheet pan) with vegetable-oil spray. Set aside in a spot where it will not be moved (yes it will have to sit there for 24 hours, don’t forget to put pot holders under it). In a 2-quart saucepan, combine cream and sweetened condensed milk; set aside.
2. In a heavy 6 to 8-quart saucepan, combine corn syrup, 1 cup water, sugar, and salt. Clip on candy thermometer. Over high heat, cook until sugar is dissolved, stirring with a wooden spoon, 8 to 12 minutes. Brush down sides of pan with a pastry brush dipped in water to remove any sugar crystals (I never do that).
3. Stop stirring, reduce heat to medium, and bring to a boil. Cook, without stirring, until temperature reaches 250 degrees (hard-ball stage), 45 to 60 minutes. Meanwhile, cook cream mixture over low heat until it is just warm. Do not boil. When sugar reaches 250 degrees. Slowly stir in butter and warmed cream mixture, keeping mixture boiling at all times.( so one piece of butter at a time and add the cream very slowly) Stirring constantly, cook over medium heat until thermometer reaches 244 degrees (firm-ball stage), 55 to 75 minutes. Stir in vanilla. Immediately pour into prepared pan without scraping pot. Let stand uncovered at room temperature for 24 hours without moving.
4. To cut, spray a large cutting board generously with vegetable-oil spray. Unmold caramel from pan onto sprayed surface. Cut into 1-by-1 1/4-inch pieces, or other shapes. Wrap each in cellophane or waxed paper (I use parchment paper.) The cutting and wrapping process is tedious, so if you can solicit help do so.
Recipe from:
Marthastewart.com: Golden Caramels - Martha Stewart Recipes
Note: I will add the finished product photo once I have them cut and wrapped.
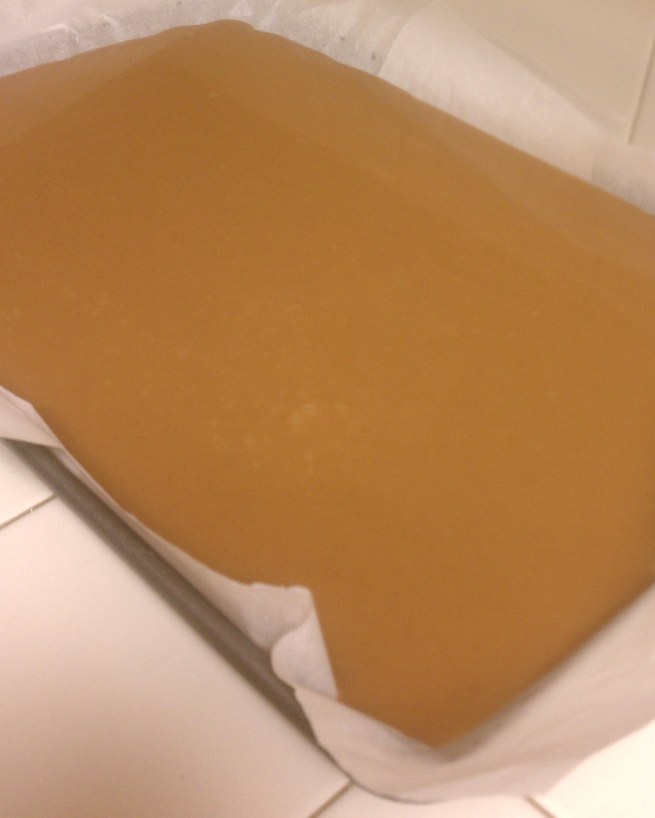
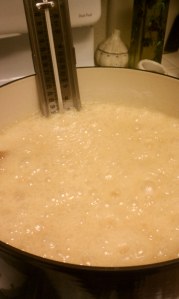
7.5 Quart dutch oven
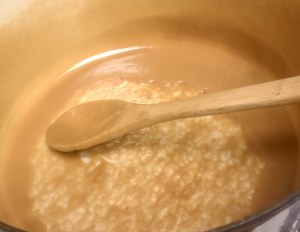
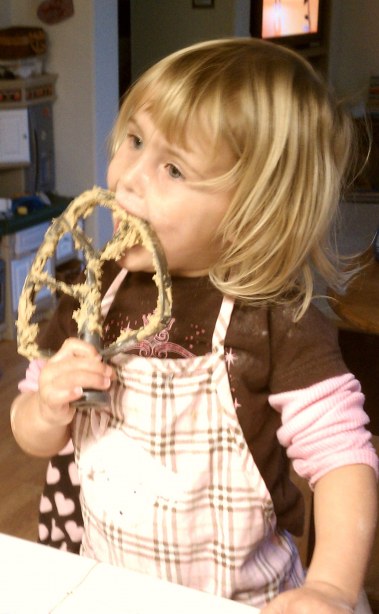
Who gets to lick the pot?
