Jenny’s Tuna Salad

salad 1 IMAG1469-1-1

I know, I basically abandoned this website for over a year then I have the audacity to return with a Salad recipe, rude just rude; even worse it’s a lousy picture taken from my phone. But….before you click the x on the top right, hear me out. Yes this is mostly a baking blog, yes cakes and cupcakes are the best…I know I know. I think though, it’s safe to say, this salad will give you that momentary pause after taking a bite, the one where you just say yum and smile. The flavors this salad rounds up are pretty incredible, fresh and tangy. Especially considering it centers around tuna, which the canned variety is nothing special. This salad can certainly be made with fresh tuna, in fact the original recipe from the Wild Goat Bistro is a grilled tuna steak. So I leave that up to you, for me it was a matter of simple convenience so I used the canned.

You will need to stock up on a few ingredients for this salad, which makes it a bit pricey that first time but you will get a few salads out of most the supplies. Also, the recipe calls for spring mix but I have used arugula, spinach and other combos as well, so change it up however you like.

Jenny’s Tuna Salad

1 small can oil packed tuna, lightly drained
1/4 c. each chopped basil and Italian parsley
1/4 c. pine nuts, toasted and salted
1/4 c. chopped candied pecans (optional)
1/4 c. capers
1/2 c. dried cherries
1/2 to 3/4 c. chopped oil packed sun dried tomatoes
Zest and juice of half a lemon
Enough chopped spring mix to fill out the salad (about 1 to 2 c. chopped)
Enough olive oil and vinegar (I use champagne vinegar) to moisten and dress the salad Salt and pepper to taste. I have used a store bought champagne dressing instead and it works just fine- just dress to taste
1/4-1/2 c. Goat cheese

Toss all these ingredients together then sprinkle the goat cheese on top.

Other options:
Spinach
Celery
Olives
cranberries

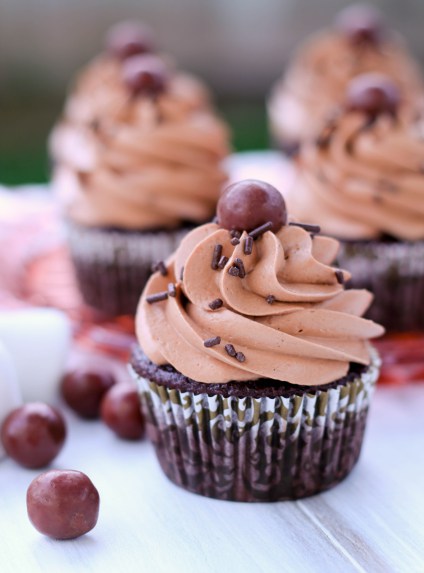
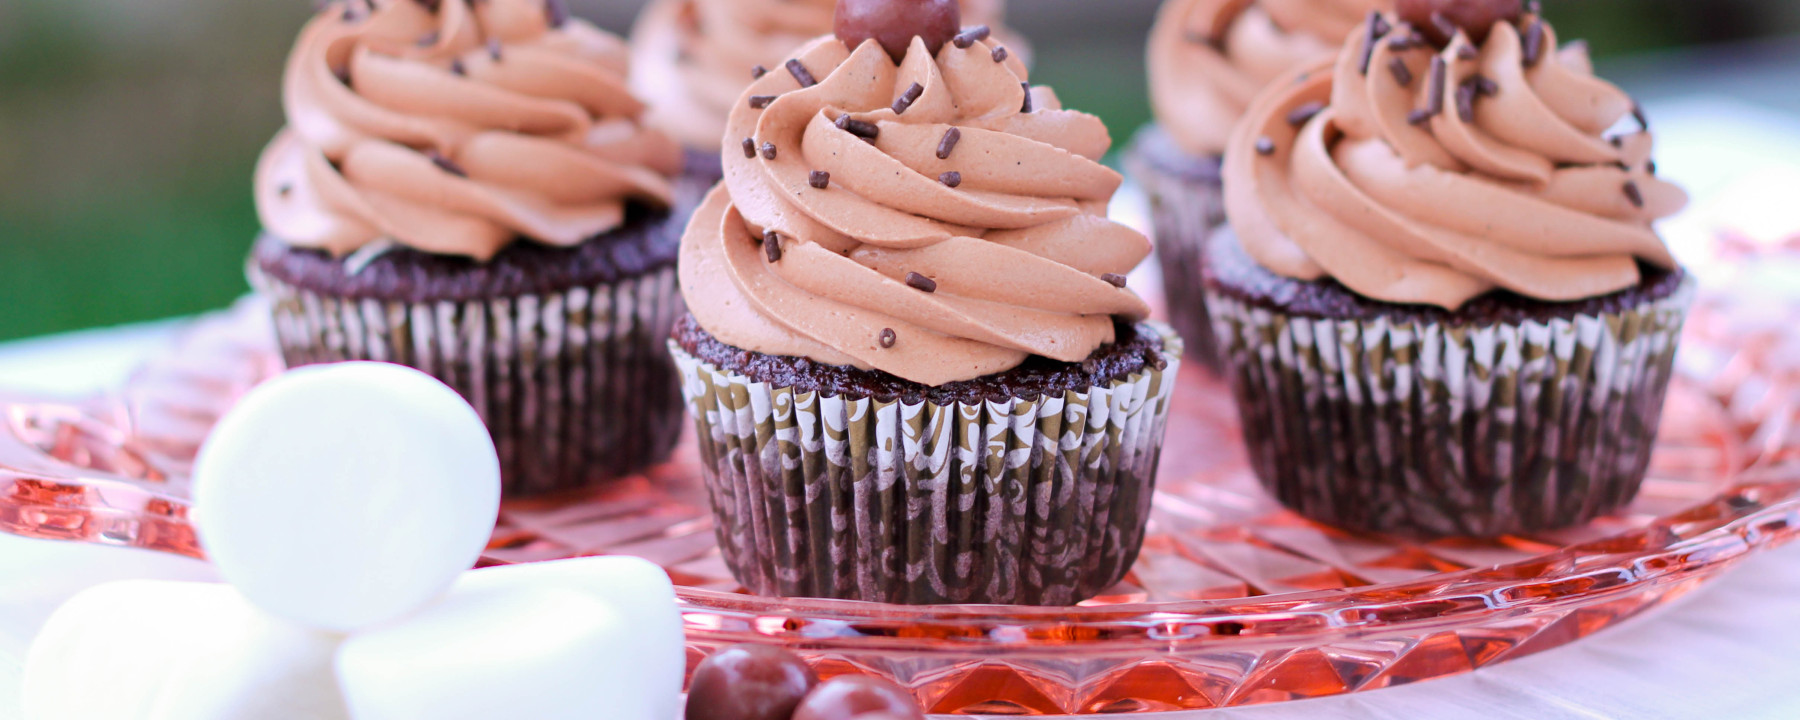
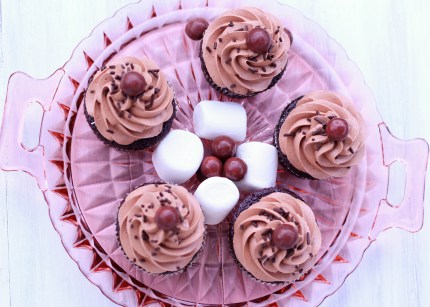
Chocolate cupcakes with malted frosting and toasted marshmallow filling

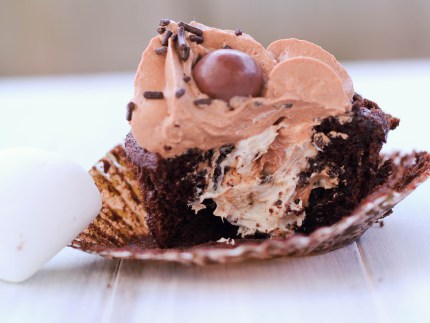
The first time I spotted these cupcakes I knew they would be perfect for a coworker’s birthday. Never did I imagined I would find these to be one of the best cupcakes I have ever had. I am not a chocolate cupcake person, alway been partial to vanilla but something about the combination of malt, chocolate and the marshmallow filling holy cow it was insane seriously like crack,  I was in love. To emphasize even more how good these are, my husband who doesn’t like cupcakes, ate 4, yes not only ate 4 but  did the over the kitchen sink-hope my wife doesn’t see me-because I am stuffing myface-good.  I think it goes without saying, these were an enormous hit at work, in fact people were fighting over them.  I already have two other people who have requested them for their birthdays. I am making them again next week and I am going to try using a malted chocolate cake, I will let you know how that goes. So if you want to be a rock star, bring these to your next party!
Chocolate Cupcakes:

Makes 24

 1 ¾ cups all-purpose flour

2 cups granulated sugar

¾ cups cocoa power (extra dark works well)

2 teaspoons baking soda

1 teaspoon baking power

1 teaspoon salt

2 eggs (room temperature is always good)

1 cup strong black coffee (can be hot)

1 cup buttermilk at room temperature

½ cup vegetable oil

1 tablespoon pure vanilla extract

 Preheat the oven to 350 F then line your muffin tins with cupcake liners. In your electric mixers bowl sift all the dry ingredients together. Then add all the wet ingredients to the dry and mix with the paddle attachment for 2 minutes on medium speed. (the plastic guard is good to use to keep the splashing contained). Pour the batter into the cupcakes liners 2/3 full, the batter is liquidly so using an ice cream scoop is easiest.

Bake for 15-17 minutes or until a toothpick come out almost clean. Cool in the pan for five minutes then cool them on a wire rack.


 Malted Chocolate Frosting

 ¾ lb butter (3 sticks) at room temperature

1 ½ cups powdered sugar

2 teaspoons pure vanilla extract

¾ cup Ovaltine or malted powder

6 oz good quality bittersweet chocolate, chopped and melted

½ cup whipping cream

 In your stand mixer use your paddle attachment to combine the powered sugar and butter and beat on low speed for about 1 minute. Add the vanilla and malt powder and beat on low until combined. Add the melted chocolate and beat on medium speed until smooth- about 2 minutes. Add whipping cream and beat on medium high speed for another minute. Because this frosting has the whip cream in it I would not make it too far in advance, best to make and frost but it keeps well at room temperature.

 Toasted Marshmallow Filling (crack)

 20 large white marshmallows

½ cup powdered sugar

½  cup unsalted butter (1 stick) at room temperature

½ teaspoon pure vanilla extract

4 oz Marshmallow Fluff (Kraft Jet-Puffed marshmallow cream)

Pinch of salt (kosher is best)

 Place the marshmallows on a cookie sheet lined with parchment paper or SilPad. Broil on a lower rack in the oven until nice and brown- do not step away from the oven; they go from brown to burned very fast. Pull them out of the oven and let cool while you combine the butter and powder sugar in your electric mixer with the paddle attachment on low until blended. Add vanilla and mix on high for 3 minutes. Add marshmallow cream, toasted marshmallows and salt, mix on medium for about a minute. I combined mine a bit more to get the big clumps of marshmallows to combine but that is up to you.

 Now to Assemble:

 I found these cupcakes to be a bit soft and cutting the cone out was difficult, therefore I used an apple corer to cut a hole out of the middle. If you do not have one, you can use the cone method just be gentle.  The marshmallow filling is hard to spoon so use a piping bag or ziplock bag to squeeze some filling into the cupcake hole. You will need a large tip because of the large pieces of marshmallows, if you do not have one, then just cut a hole off the corner of a ziplock bag-they work great. Put in just enough filling to be level with the top of the cupcake. Then swirl the malted chocolate frosting on top, (Ateco #887 works). I topped with chocolate sprinkles and a malt ball. They will last for three days in an air tight container.

 Recipe slightly adapted from: Sweetopolita
Chorizo and Eggs

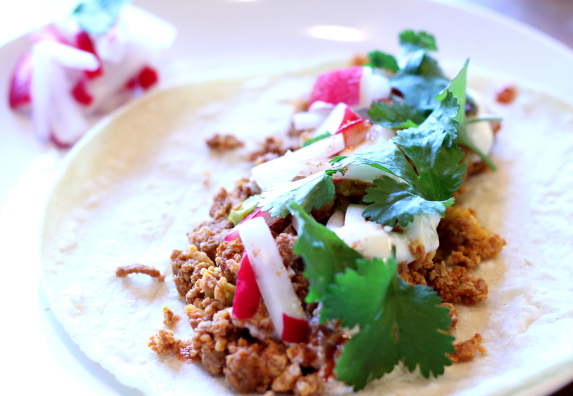
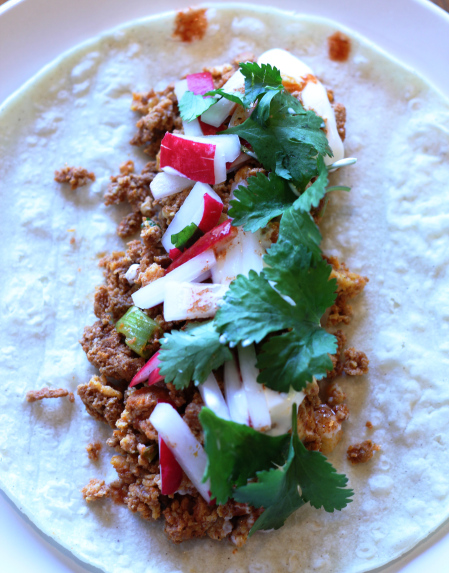
Before I met my husband I had never heard of chorizo and boy was I missing out. It is one of the best and easiest breakfasts you can make. We started out getting this breakfast at our favorite local Mexican restaurant but we kept thinking, we can do this better at home and for a lot less money. You can buy Mexican chorizo loose or packed in a tube, the latter is greasier and honestly that was the only way I had ever seen it until recently when I found my local grocery store had it by the pound. You can add to it whatever sounds good to you, eggs are about all we add in, then green onions on top but it’s completely up to you. My favorite is with eggs, radishes, green onions, cilantro, sour cream and lots of Tapatio hot sauce.

Recipe:

1 pound Mexican Chorizo

2 tsp oil of your choice

6 eggs, whisk well with a touch of milk

3 green onions chopped

5 radishes, diced

8-10 tortillas (corn or flour)

1 tablespoon of chopped cilantro

Sour cream and hot sauce for toppings

Heat a large skillet on medium and add 2 tsp of oil, then add in the chorizo (if it in the casing, simply squeeze it out into the pan).Break up the chorizo and make a flat layer inside the pan, cook the chorizo until the liquid has cooked out stirring occasionally, it will become firm and crumbly (much like ground beef- about 5-7 minutes).  Meanwhile, chop up your green onions, radishes and cilantro. You may need to drain the chorizo once it’s cooked if it had a lot of grease.  Next, add in the eggs and scramble with the cooked chorizo, stirring until the eggs are cooked. While this is cooking heat up your tortillas in the microwave or oven and then wrap them in some foil to keep warm.  Once the eggs have cooked you are ready to assemble. Put a large spoonful of the chorizo/eggs on the tortilla and sprinkle with radishes, green onions, cilantro and sour cream; roll and eat.

Cupcake Battle


Lemon Blueberry Cupcakes ~ BBQ Theme

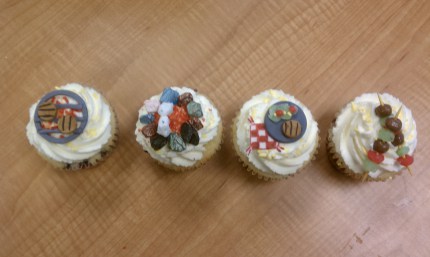
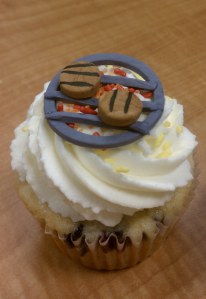
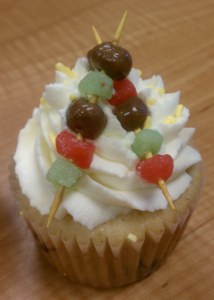
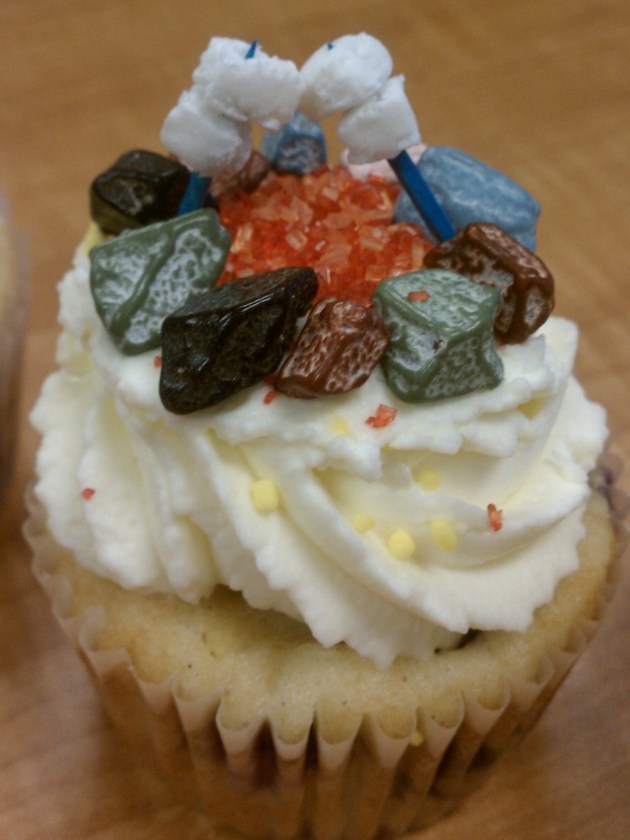
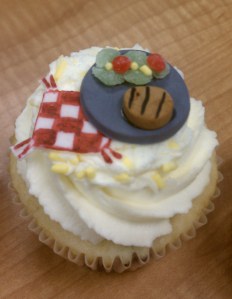
Last week here at work they had a huge BBQ Rib competition and cupcake battle, people from all over the state came to compete. After some coaxing by my friends and coworkers I entered the cupcake competition clueless as to how I would make my cupcakes BBQ themed. They were even having someone from Sift Cupcakery as one of the judges, if you watch Cupcake Wars, you might remember them. I chose to do my Lemon Blueberry cupcakes because they are delicious and I figured no one else would make blueberry. I will say, we had a lot of fun decorating them, my coworkers and I sat in our office and played with fondant, creating tiny little BBQ items. We ended up coming in second out of twenty-nine which isn’t too bad considering I wasn’t having the best baking Karma the day I made them. The funnier thing is, the winner made smores cupcakes, which I had considered but thought wasn’t original enough! HA. I have to say thank you to my friends, we really had a great time decorating them.

*Please excuse the bad photos, I only had my phone with me.

Grill with Burgers

BBQ Kabobs

BBQ kabob

Fire pit with Marshmallows

Fire pit with Marshmallows

Burger and salad

Burger and salad

Mango Smoothie


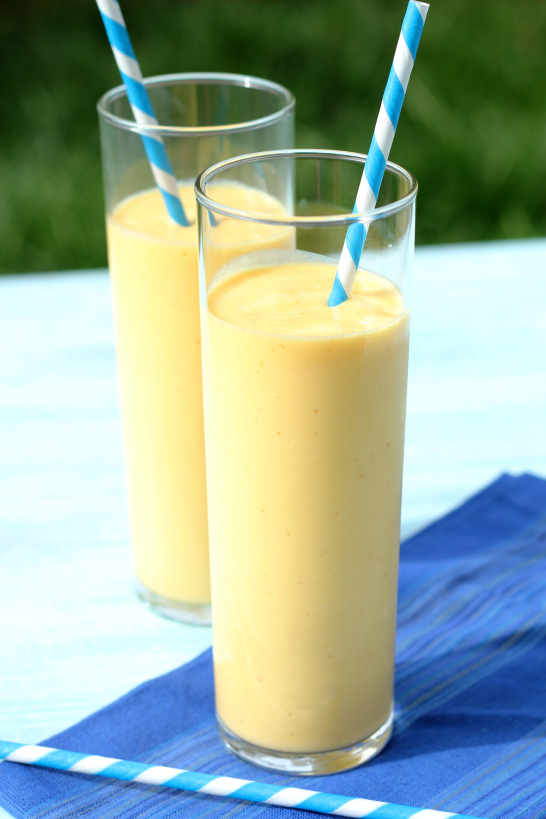
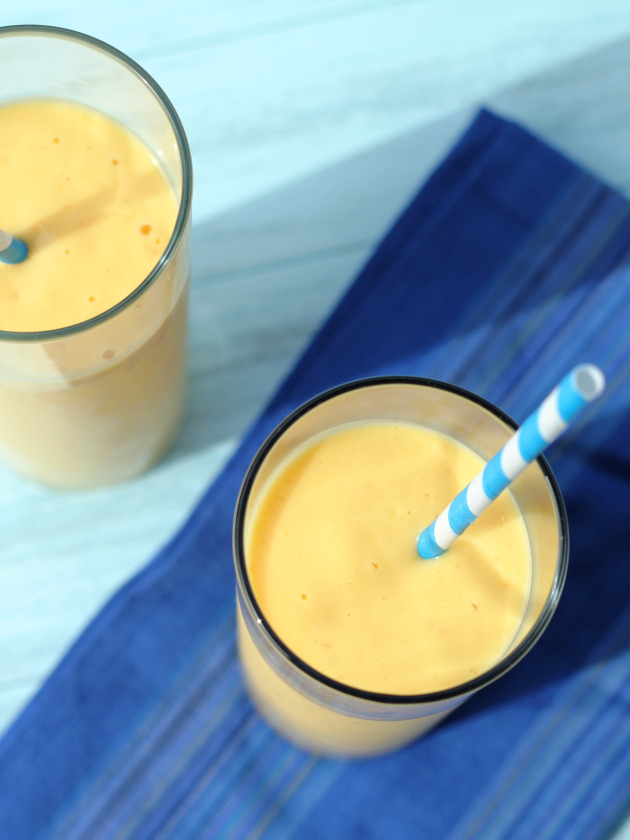
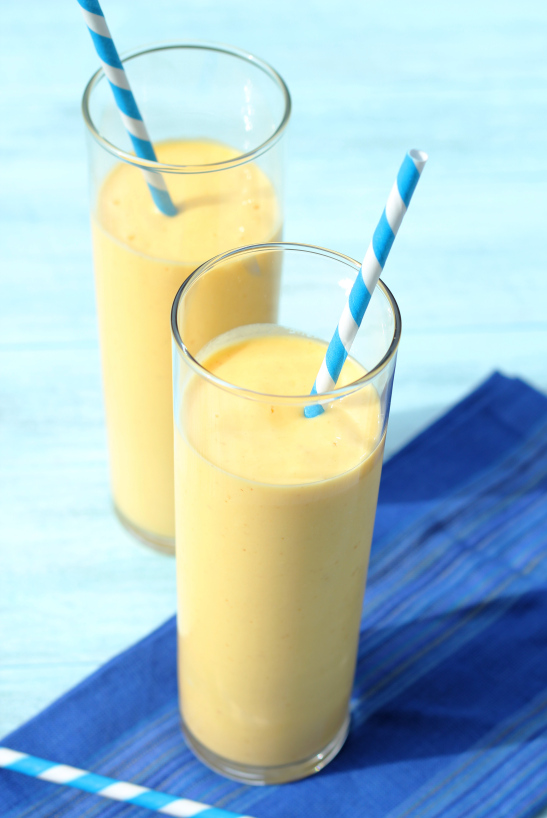
This smoothie is about as simple as it gets and it’s my new favorite snack. If you need a little detox from the chocolate craziness of this week, this will work. It calls for fresh mangos, which is fine but frozen would be easier if you are in a hurry. My Trader Joe’s for some reason has stopped carrying frozen mangos, much to my disappointment.  You can also add in just about anything, the one pictured I had added some toasted flax seeds but found out too much flax seed is no good. So go lightly with your mix-ins at first. 

 I hope everyone had a good Valentine’s Day; ours was a simple family dinner out and a card exchange. Gator made some handmade gifts for my husband and me and was so proud to show them off, it was the cutest thing. Then she proceeded to eat all the candy out of mine, sigh…three year olds.

Mango Smoothie

 2 ripe mangos- peeled and sliced

1 ½ cups vanilla yogurt, Greek style

Ice (I use a couple handfuls)

 In a blender add vanilla yogurt, mango and ice; blend.  Makes 4 servings.

Adaptations: you can add nuts, flax seeds, substitute nonfat/lofat yogurt and use frozen mangos.

 Recipe from: the south beach diet book

Chocolate and Strawberry Cupcakes

This post has two recipes I made last year but I felt the ideas where too good not to share and they could both be perfect for Valentine’s  treats.  With Valentine’s day on a  Tuesday this week and the ‘plague’ going through Gattor’s school right now, things have been challenging. But I plan on making some cute sugar cookies tomorrow that I will do my best to share before Tuesday.

One Bowl Chocolate Cupcakes

Ok, up first a super easy recipe that is great to do with the kids; one bowl chocolate cupcakes. Gattor and I made these one weekend a few months ago because I had promised her we would make some cupcakes, so we whipped them up and took them around the neighborhood to share . I chose to do mini cupcakes just for fun and to make things easier for her to decorate, she did a great job and had a lot of fun. I think these are perfect for those nights when you need a simple but delicious recipe for your kids class the next day.

I was told, "I want pink frosting with sprinkles."

Happy girl.

One Bowl Chocolate Cupcakes

  • 3/4 cup unsweetened cocoa powder
  • 1 1/2 cups all-purpose flour
  • 1 1/2 cups sugar
  • 1 1/2 teaspoons baking soda
  • 3/4 teaspoon baking powder
  • 3/4 teaspoon salt
  • 2 large eggs
  • 3/4 cup warm water
  • 3/4 cup buttermilk
  • 3 tablespoons vegetable oil
  • 1 teaspoon pure vanilla extract

Directions

  1. Preheat oven to 350 degrees. Line muffin tins with paper liners; set aside. Sift together cocoa powder, flour, sugar, baking soda, baking powder, and salt into a large bowl. Add the eggs, warm water, buttermilk, oil, and vanilla, and mix until smooth, about 3 minutes. Be sure to scrape down the sides and bottom of bowl to assure batter is well mixed.
  2. Divide batter evenly among muffin cups, filling each 2/3 full. Bake until tops spring back when touched, about 20 minutes, less if baking mini muffins (check them after 12), rotating pan once if needed. Transfer to a wire rack; let cool completely.

Recipe from: Martha Stewart Cupcakes

I made a simple American style vanilla buttercream. This is a very easy but very good recipe, the use of vanilla bean paste is what really makes it special but if you don’t have any that is OK, just be sure to pick some up the next time you are out. :)

Vanilla Buttercream
Ingredients

  • 1 1/2 cup confectioners’ sugar (add more until it reaches your preferred consistency)
  • 1/2 cup unsalted butter, room temperature
  • 2 teaspoons vanilla bean paste (add more to taste)
  • 1 tablespoon milk (you can also use heavy cream-yum)

Directions

Mix together sugar and butter until they are blended and creamed. Add in the  vanilla bean paste and milk and continue to beat for another minute. If you have not reached your desired consistency sift in more confectioners’ sugar to make it stiffer.
Recipe from: The Cupcake Project

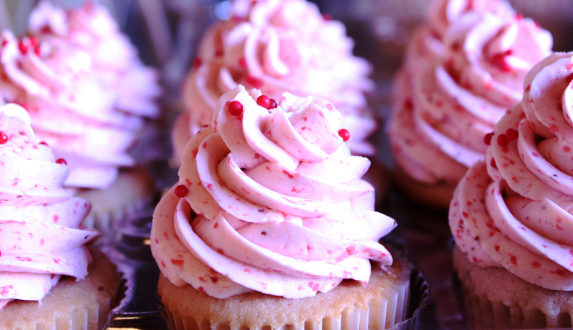
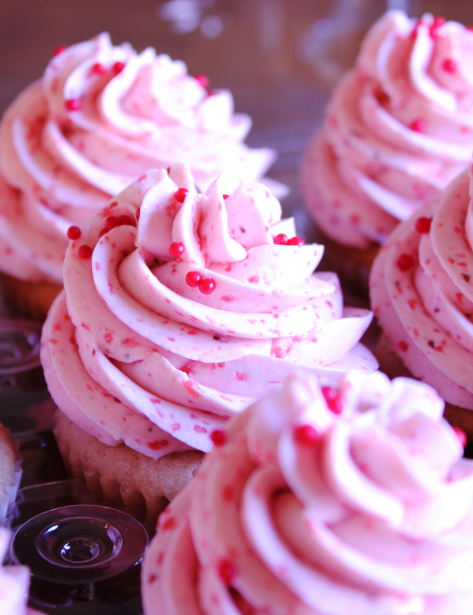
Strawberry cupcakes with Strawberry Swiss Meringue Buttercream

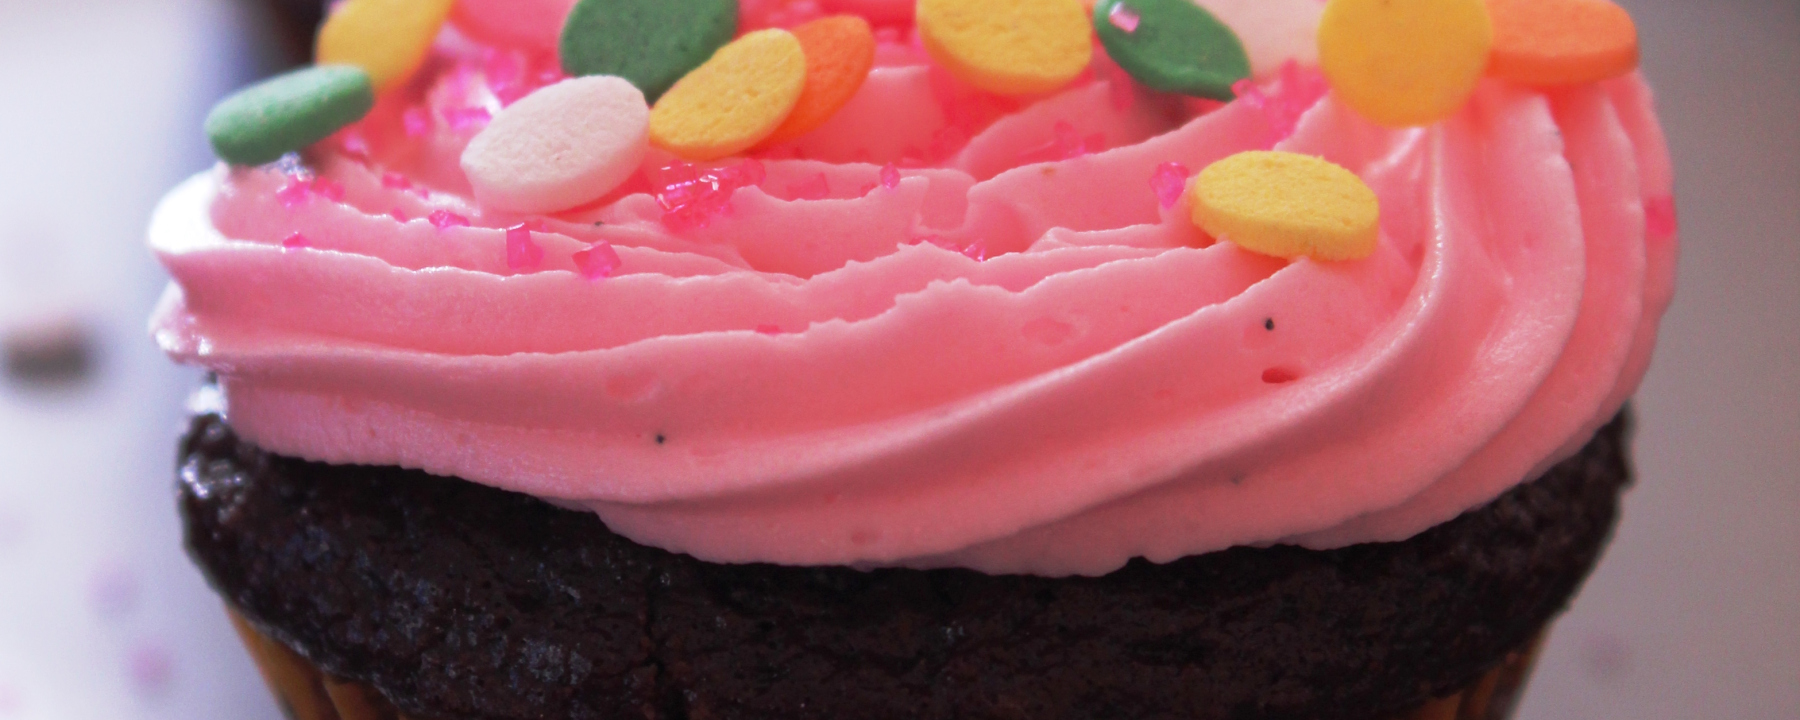
I made these cupcakes during the summer when strawberries were in season but you could easily use frozen with great results. I absolutely love this cake recipe and I have made it many times and everyone always loves it. Now the cake is great but the frosting, well that is another story entirely, in fact it really deserves its own post! It is one of the best frosting’s I have ever had and its pink, what could be better than that! The use of strawberry puree in the frosting is what makes it for me, it tastes so fresh and delicious, nothing fake or sugary about it. If this frosting seems intimidating, don’t worry, it really is reliable with some patience.

I have posted the recipe for the cake here.  You will need to adjust the cooking time, about 20 minutes for the cupcakes, this recipe also make a lot of cupcakes, about 36.

Strawberry Swiss Meringue Buttercream

Adapted from:  Martha Stewart Cupcakes

Yield Makes about 5 cups

Ingredients

  • 1 ½ cups strawberries (about 8 oz)
  • 5 large egg whites
  • 1 cup plus 2 tablespoons sugar
  • Pinch of salt
  • 1 pound (4 sticks) unsalted butter, cut into tablespoons, room temperature
  • 1 1/2 teaspoons pure vanilla extract

Directions

  1. Puree the strawberries until smooth and set aside.
  2. Combine egg whites, sugar, and salt in the heatproof bowl of a standing mixer set over a pan of simmering water. Whisk constantly by hand until mixture is warm to the touch and sugar has dissolved (the mixture should feel completely smooth when rubbed between your fingertips or gets to 140 degrees F ).
  3. Attach the bowl to the mixer fitted with the whisk attachment. Starting on low and gradually increasing to medium-high speed, whisk until stiff (but not dry) peaks form. Continue mixing until the mixture is fluffy and glossy, and completely cool (test by touching the bottom of the bowl), about 10 minutes. Set your timer, it makes life much simpler.
  4. With mixer on medium-low speed, add the butter a few tablespoons at a time, mixing well after each addition. If for some reason your frosting now resembles curdled milk, don’t freak out, just keep beating it; it will come back I promise. Once all butter has been added, whisk in vanilla and the strawberry puree. Switch to the paddle attachment, and continue beating on low speed until all air bubbles are eliminated, about 2 minutes. Scrape down sides of bowl with a flexible spatula, and continue beating until the frosting is completely smooth. Keep butter cream at room temperature if using the same day. This frosting can be made ahead and refrigerated, if you do that, make sure you let it get to room temp before you re-beat it. If you are using the next day, simply take it out the refrigerator the night before and let it sit on the counter, it will be the perfect temperature to whip the next morning.

Diego Birthday Cake

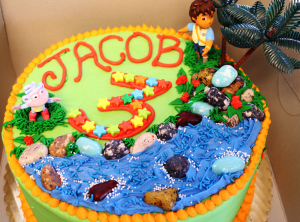
This cake was so much fun. I had more than my usual amount of time to devote to decorating it and I really enjoyed the process. I went out and got the decorations, Diego, trees, rocks etc and then after a few internet searches for ideas, made myself a sketch and went to work. The birthday boy’s eyes really lit up when he saw it and that is always a good feeling.

As for the cake itself, I used my favorite strawberry cake with a Chocolate Swiss Meringue Buttercream filling and a cream cheese frosting exterior. I think the combination worked although had I not had extra Swiss meringue butter cream from another project I probably would have made a strawberry cream cheese filling.  I used two 10 inch cake pans and that worked well for this recipe which makes three 8 inch cakes.

Strawberry Layer Cake

4 ½ cups cake flour

3 cups sugar

5 ¼ teaspoons baking powder

¾ teaspoon salt

3 sticks (12 ounces) unsalted butter, at room temperature

1 ½ cups pureed fresh or frozen strawberries

8 egg whites

2/3 cup milk

1 to 2 drops of red food coloring to make it more pink (in my case a tsp of red gel, because I wanted it red)

 Directions:

Preheat the oven to 350F. Butter or spray three 8 or 9 inch cake pans ( 1 used 2 10 inch). Line with parchment or waxed paper on the bottom and butter or spray the paper. This may seem like an unneeded extra step but I assure you, it’s the only failsafe way to know your cake will come out of the pan in one piece.

 Add the flour, sugar, baking powder and salt n a large mixer bowl. With the mixer on low speed, blend for 30 seconds. Add the butter and strawberry puree and mix to blend the ingredients. Increase the speed to medium and beat until light and fluffy, about 2-3 minutes.

 In another large bowl, whisk together the egg whites, milk and food coloring to blend. Add the egg white mixture to the batter in two or three additions, scraping down the bowl as needed and mixing only to incorporate after each addition. Divide the batter among the prepared cake pans.

 Bake the cakes for 30 to 34 minutes, or until a cake tester or toothpick inserted into the middle comes out clean. Allow the cakes to cool in the pans for 10 to 15 minutes. Invert and turn out onto wire racks and peel off the paper liners. Let them stand until completely cooled before assembling the cake, at least an hour. Once they have cooled, you can wrap them in plastic wrap and place them in the freezer for 30 minutes; this will make assembling the cake much easier because the layers will be firm and not easily broken.

 Once you remove the cake from the freezer, place a tiny dollop of frosting on the cake board to act as glue for the cake, then put the first layer on your cake board (for a 10 inch cake I used a 12 inch cake board).  Add about 2/3 to 1 cups of frosting or filling and spread evenly. If you are using a filling that is different than your frosting, you will want to make a frosting “dam” around the outside of the cake layer to keep the filling from gushing out when you stack. I usually start out with a bit of my frosting in a pastry bag with a simple tip, to use for the dam.  One by one layer/stack your cake, in my case, since I used two 10 inch rounds, so I cut them into two, so I had four layers total. Once you have all your layers assembled, crumb coat the entire cake (put a thin layer of frosting) and then put it back in the freezer or fridge until firm. Once firm, frost the cake and decorate how you like.

Recipe from: Smitten Kitchen

Vanilla Bean Cream cheese frosting

Chocolate Swiss Meringue Buttercream

 **If you are unsure of how to assemble or frost your cake look it up on UTube, there is a video for everything and it can really help the process when you can watch it being done.  I have watched many, many videos on there to get ideas or troubleshoot when I am stuck.

Previous Older Entries

Follow

Get every new post delivered to your Inbox.

Join 449 other followers